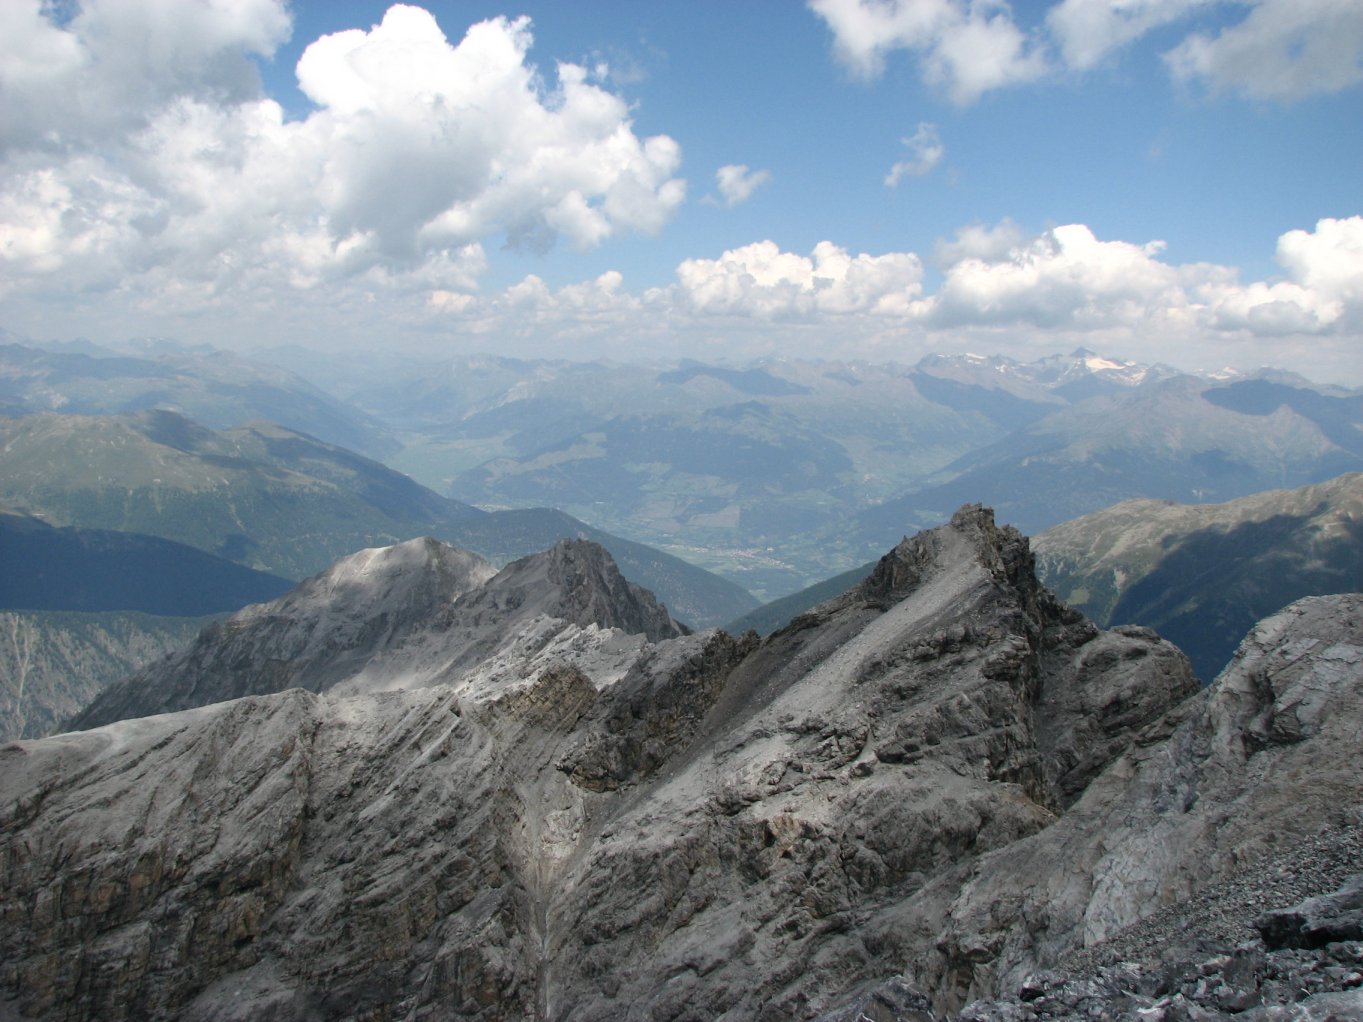
Bild 19 (Abstiegsweg bei Tabarettaspitze):
nõchstes Bild
nõchstes Bild
zur³ck zur ▄bersicht